Building a radio (Part 5) - control panel
Published on: 17th January 2024
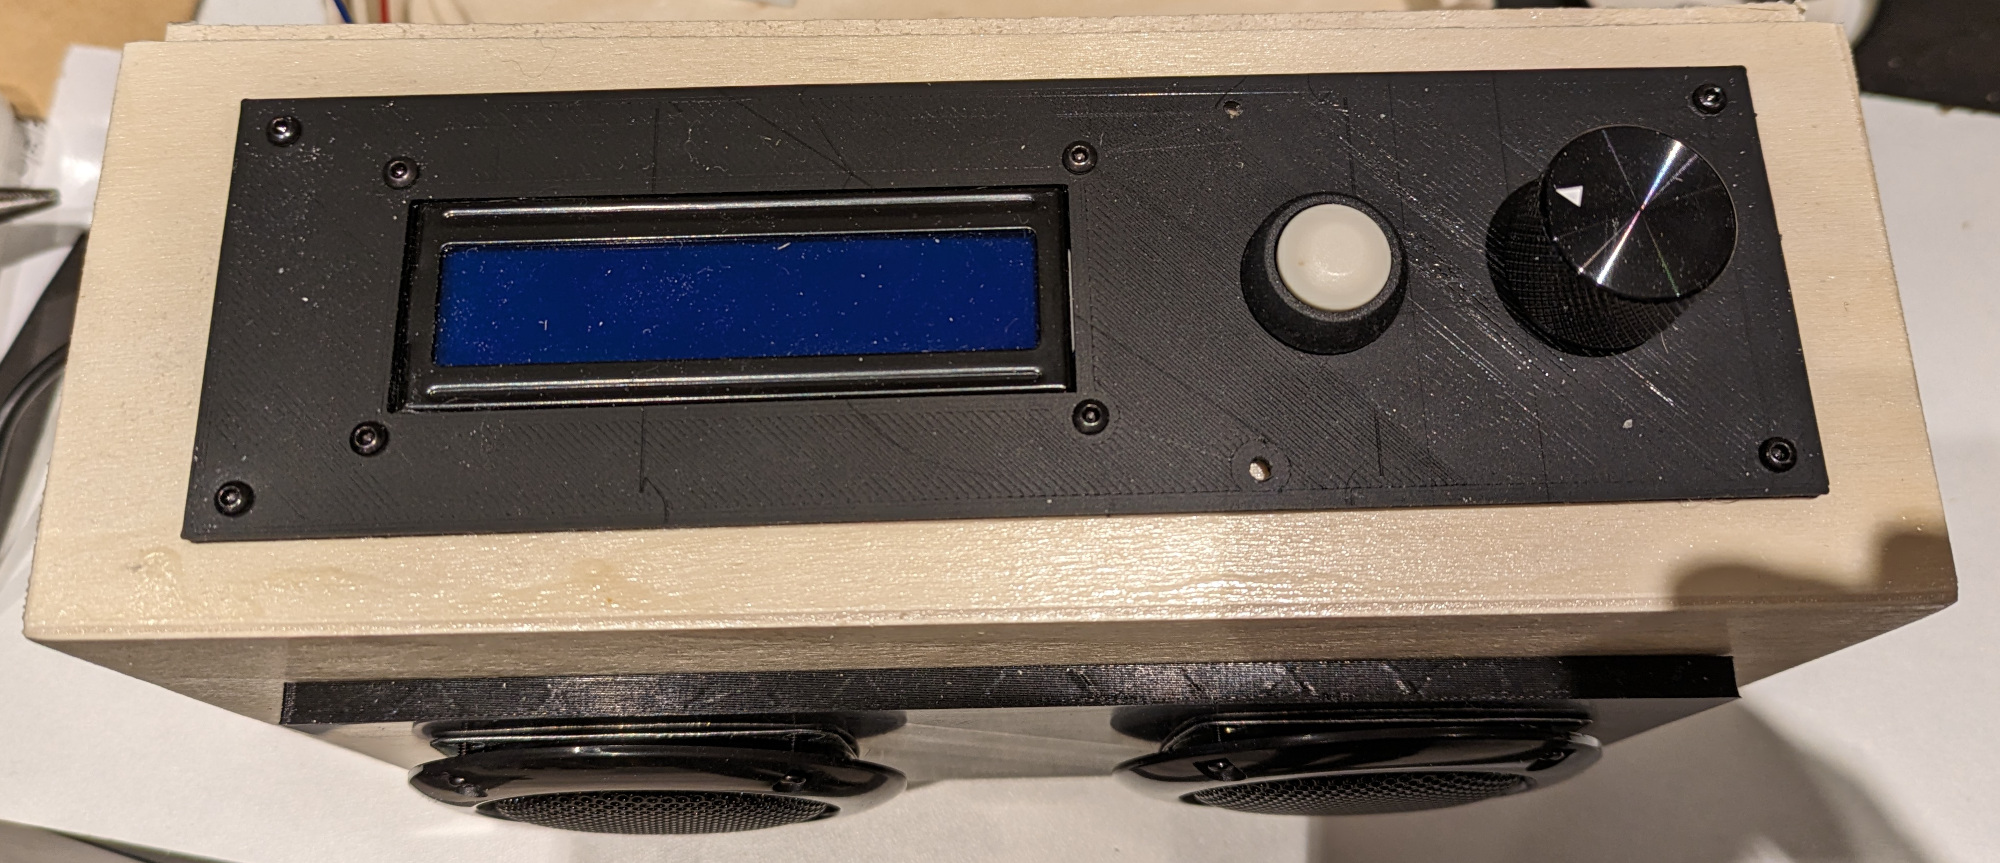
The display was more complicated. The display is mounted on its own circuit board and has a ‘backpack’ beneath it. The backpack is a mini-board linked to four pins for easy control, much simpler than wiring the whole display up and controlling it ‘raw.’ That’s all great, but I couldn’t find any diagrams giving the exact dimensions. And as it’s a 3D object itself I couldn’t just create a space and expect it to fit. I needed:
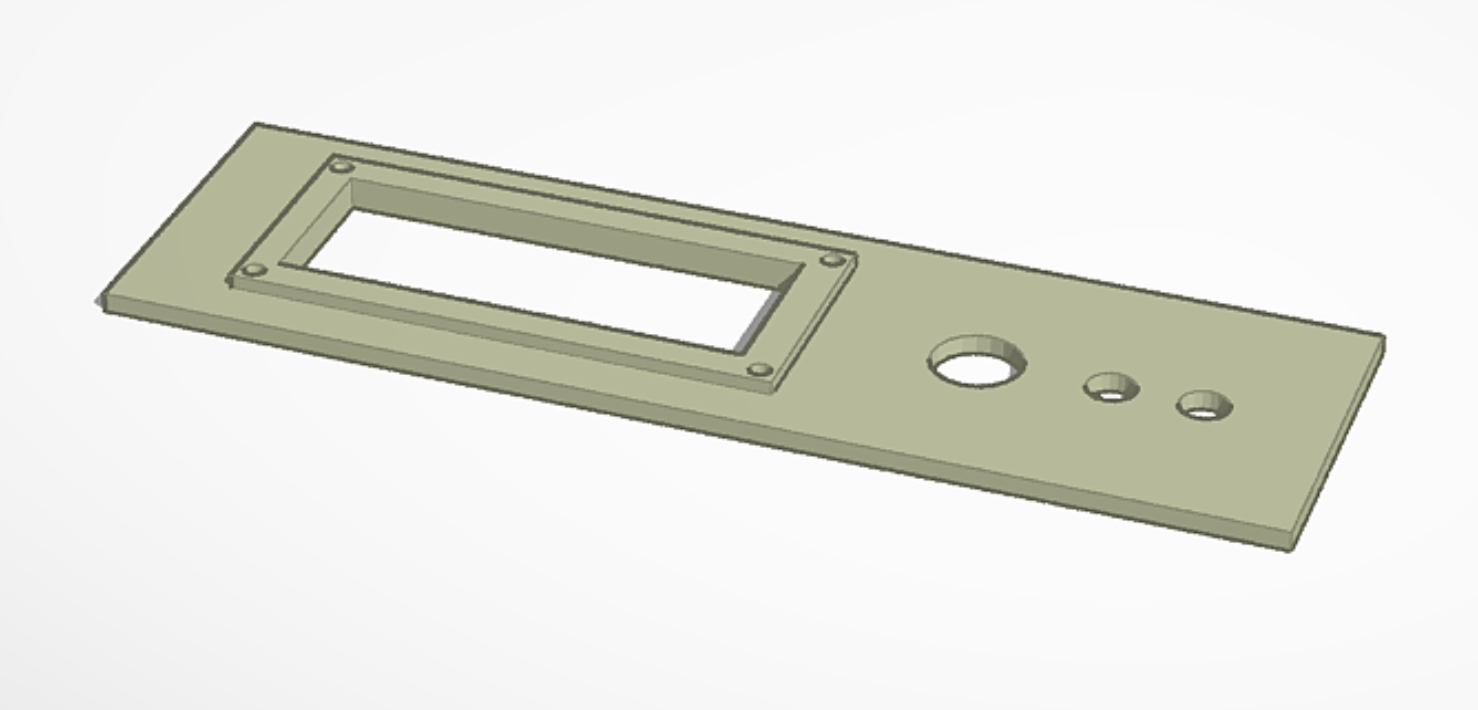
- To make sure that just the actual LED display part was visible
- The display surround isn’t level throughout - one side is raised and hides the LED backlight. So the support will need to accommodate this or the display will flop about rather than sit securely
- To make sure that the top of the display part was level with the panel I was designing, not awkwardly sticking up above or below the rest
- To make sure that the supporting board and backpack weren’t going to be fouled by either the panel I was designing or the wooden case itself I then realised that there was a problem with the volume control. If I just made a hole for it, the entire amplifier assembly would spin around when I tried to change the volume until they ripped their cables free from everything else. So I had to add a small post that the amplifier could rest against that would keep it in place.